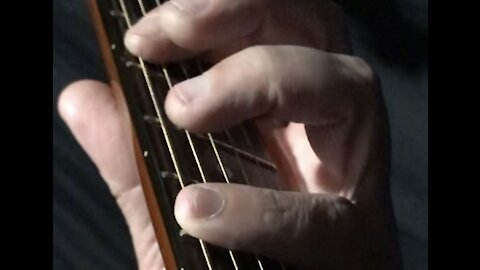
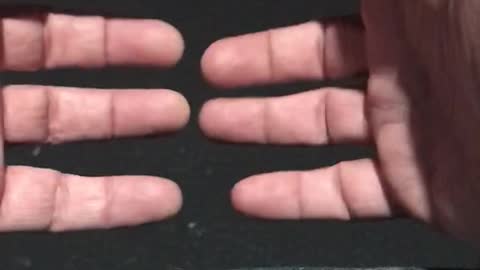
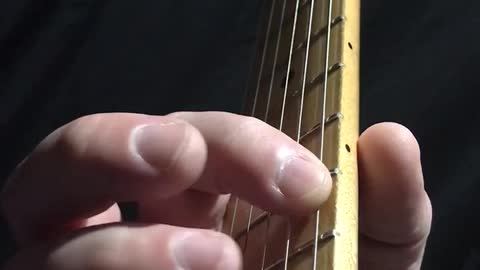
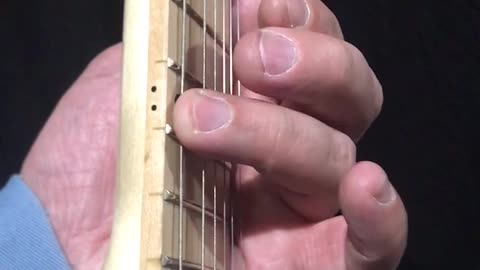
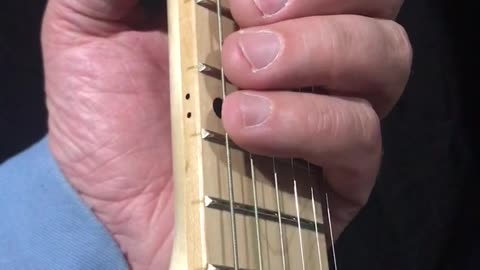
Guitar Lesson - 2 Finger Hammer-On 3 Half-Steps
In this exercise, we use the pointer and pinky fingers to do hammer-ons, 3 half-steps apart.
As with all exercises, do this on every fret, on every string.
24
views
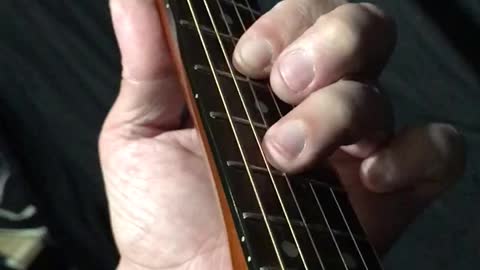
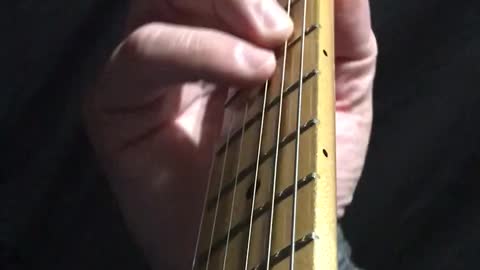
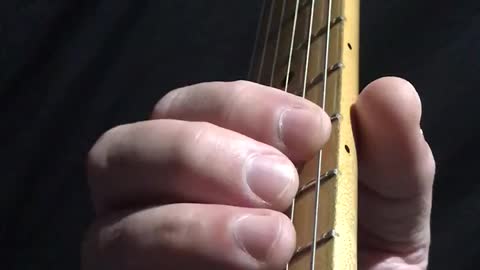
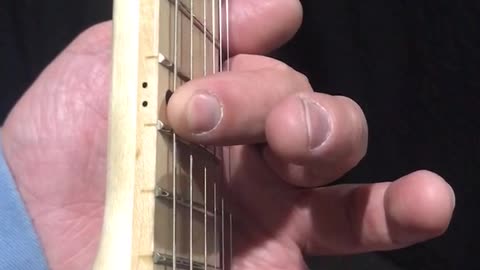
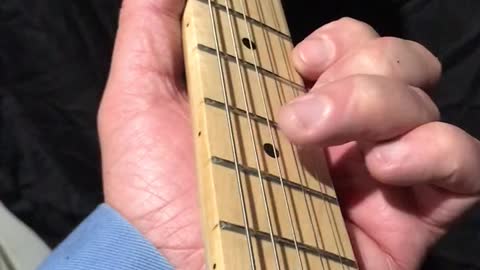
Guitar Lesson - 2 Finger Hammer-On - 2 Half-Steps
In this exercise, we use the pointer and ringer finger to do hammer-on exercises, 2 half-steps apart.
28
views
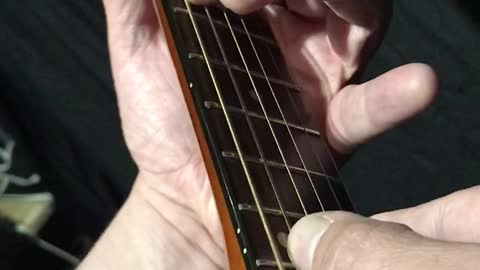
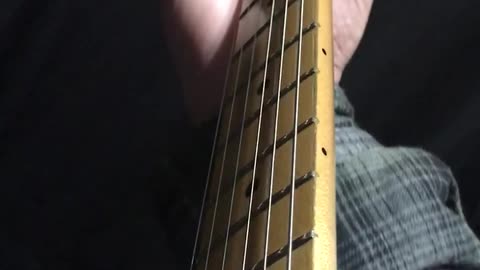
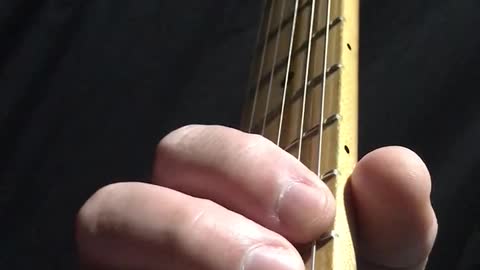
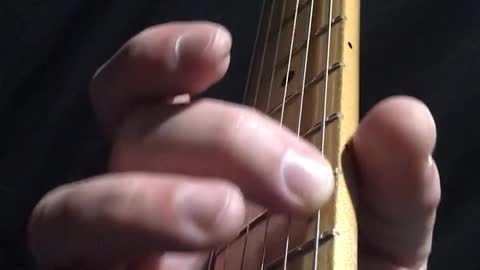
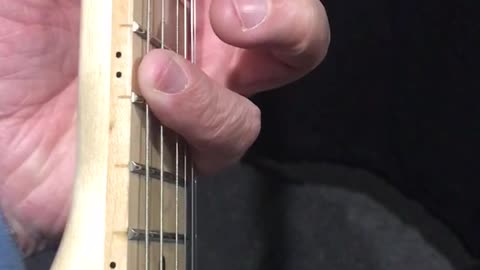
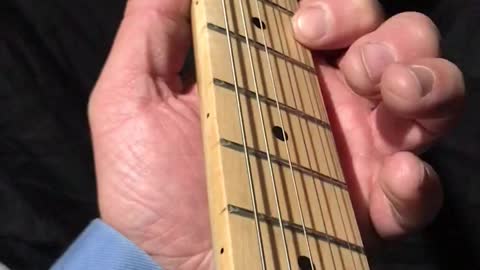
Guitar Lesson - 2 Finger Hammer-On - 1 Half-Step
In this exercise, we do a Hammer-On using 2 fingers, 1 half-step apart.
As these exercises progress, we will use every possible combination of 2 fingers,
Then every possible combination of 3 fingers,
Then every possible combination of 4 fingers.
Then we will work on 2,3,4 finger pull-offs,
and then combine a 2,3,4 finger hammer-on and pull-off into one exercise
11
views
Rote Exercises - Wax On, Wax Off
This is a clip from a pivotal scene in a classic movie. I encourage everyone to watch Karate Kid if they haven’t seen it already.
The “wax on, wax off” line became a meme when this movie came out, perhaps because it was such a good metaphor for everything we do in life.
I include this clip in the beginner guitar lesson series, as a way to illustrate the idea that we have to go thru the motions, even if it feels like hard work, and no fun.
here's the rest of that clip, cued up to where i left off.
https://youtu.be/_N7HuhacP2c?t=81
heres a search link for that clip, in case anything happens to the above clip.
https://www.youtube.com/results?search_query=karate+kid+wax
40
views

How To Really Hold A Violin Bow - Paganini’s Greatest Secret
This short introductory clip was taken from a longer video that is linked to below.
How To Really Hold A Violin Bow / Paganini's Greatest Secret
https://youtu.be/5Pk66NVkmqw?t=115
other videos on his channel.
https://www.youtube.com/user/kevinleeluthier/videos
Paganini - The complete quartets for strings and guitar
https://www.youtube.com/watch?v=C2sBPVv_Vy4&list=PLgN2O34fDvjt5_QWa8Z8wYJG4rsVUuwHw
Here is a link to a YouTube search for Paganini Documentaries.
https://www.youtube.com/results?search_query=Paganini+Documentary
One important take-away from watching these videos, is to note how Paganini stood, his stance. There are only sketches of him playing, but every sketch shows his legs in this weird signature stance.
I can say that after I started standing this way, my playing improved dramatically. I think the key to this stance, is to pretend you have a tennis ball under your heel, and that you are gently squeezing and un-squeezing the tennis ball with your heel, along with the music.
The difference between this foot-work technique, and say, that of Angus Young of AC/DC, is that Paganini's legs and feet move slowly, gently, methodically, more analog...
Whereas Angus' foot-work seems more binary, jerky, and jarring, where he slams his foot into the ground hard, but in between each foot-stomps is legs and feet are more out-of-control.
https://www.youtube.com/results?search_query=AC%2FDC+live
95
views

Improve your ear training - A scientific overview of implied harmony
This short video clip comes from a longer video that is linked to below.
The man in this video paid good money to advertise this video to me at YouTube, so I figured I’d give him a listen, and I’m glad I did listen!
And now I’d like to share it with you, in hopes that you find value in the lesson too.
Why you're not able to improve your ear training skills - a scientific overview of implied harmony
https://www.youtube.com/watch?v=Vbcpdb_2feI
the rest of his videos
https://www.youtube.com/channel/UCo2LVEHoo-lTs3R9wwNl-oA/videos
37
views
Beginner Guitar - Lateral Finger Strengthening Exercises
In this exercise, that i incorrectly refer to as ‘isometric’...
We use the fingers of each hand, to provide lateral resistance to the fingers of the other hand.
Start by making a ‘scissors gesture’ with two fingers of one hand,
while using the same two fingers of the other hand, to resist the scissors motion.
Repeat exercise with every possible set of fingers.
The purpose of this exercise is to strengthen the muscles that control lateral finger motion,
So that when you play guitar, your fingers will more naturally micro-adjust to different hand positions,
And it helps keep your fingers stable, laterally, while you slide up and down the strings.
78
views
3
comments
Guitar Rote Exercises - Gliss - Slide - Minor Root 5th Octave Shape
in this exercise, we practice sliding a minor root 5th 8va shape up and down the strings.
While the 1,5,8 are all notes that are in both the major and minor scales, this shape sets you up, and puts your fingers in good position to reach all of the other notes of the minor scale.
This exercise goes together with the Major Root Octave Shape exercise.
This exercise is done to practice your slides, gliss, intonation, and lateral finger control.
As well as to get your fingers, and your ears, more spatially aware,
and to work on the foundations of music theory, and chord shapes, which you will use to build more upon later,
32
views
1
comment
Guitar Rote Exercises - Gliss - Slide - Major Root Octave Shape
This exercise is similar to previous exercises, in that we are practicing sliding a certain chord shape up and down the strings.
This exercise is different in that we use the middle finger for the root, and the pinky finger for the octave.
This shape sets you up, and puts your fingers in a good position to play the notes of the major scale.
Earlier lessons also worked on using the pointer finger for the root note, which sets you up, and puts your fingers in position to play the notes of the minor key.
So we are playing the exact same notes (Root and Octave),
but because we are playing them with different fingers, and different hand shapes, it enables us to play either minor or major scale, between the root and octave.
16
views
Guitar Rote Exercises - Gliss - Slide - Lateral Strength And Control Of 3 Fingers On 3 Strings
in this exercise, we continue on from the previous 3 exercises,
Which were, to slide one finger up and down one string,
Then slide two fingers up and down two strings, in a power chord shape.
Then slide two fingers up and down two strings, in an octave shape.
And now we are sliding 3 fingers up and down in a root-blue note-octave shape,
Which is root, up one string and up one fret, and then up one more string and one more fret, so fingers are at a 45° angle to the neck.
The purpose of these exercises is to incorporate several smaller maneuvers that we practiced earlier, into more complex, compound maneuvers.
Yes, this lesson is given on a Left handed guitar.
Yes, guitars are “handed”, and 99% of guitars are built for right-handed players.
This is scandalous. Go down this rabbit hole with me...
Im right-handed... but here is my story...
My sister is left handed, and she tried to play violin right-handed for many years thru school.
We were talking about “handed” instruments one day, and the light-bulb went off in her head, and she had an “ah ha moment” where she realized thats why she struggled so hard with violin.
I immediately agreed with her, and i was kind of dumbfounded about the whole thing. Its such a simple, obvious problem, with a simple, obvious answer... and yet...
So time went on, and one day i saw a Mexican Fender Stratocaster in a pawn shop for sale. It was left-handed, but the price was right so i bought it.
Some time goes on, and one day I’m in my local guitar shop, which is one of the finest guitar shops in the whole world, and has one of the biggest guitar inventory and selection in the whole world...
And i notice that out of all the guitars that are for sale, not one single one of them is left-handed...
So i ask the guitar salesman what they do when a left-handed person walks in, and he said, we sell him a right-handed guitar!
So apparently, If you are left-handed, and you want to learn guitar, they will try to teach you on a right-handed guitar, and sell you a right-handed guitar!
And once you start playing guitar right-handed, and you own a right-handed guitar, you are likely to stick with trying to play right-handed, and you’ll buy more right-handed guitars...
And so theres this catch 22, where left-handed people don’t have access to left-handed instruments, and so they are forced to adapt to right-handed playing,
And because the leftys are forced to play right-handed, theres no demand for left-handed instruments,
And because theres no demand for left-handed instruments, guitar shops don’t build them!
And because so many guitar shops wont build lefty guitars, theres a constant shortage if lefty instruments,
Which, feeds right back into the problem of lack of access to left-handed instruments,
Which is why lefty’s are steered to play right-handed!
There is another aspect to this to consider.
In order to be able to do a final set-up of a guitar, the guitar tech needs to be a competent guitar player, and should know what the guitar should feel like while they are taking it for a test drive.
But if you are a right-handed guitar tech, and can’t play left-handed, then you can’t do a good set-up on a left-handed guitar, because you haven’t developed the feel for it.
And since so few guitar techs have developed the feel for a left-handed guitar, its a safe bet that most left handed guitars have never been set-up correctly from the factory, or even at the local guitar shop.
Furthermore, even if there was ONE left-handed guitar in my local guitar shop, thats not much of a selection.
As a right-handed player, i can pick up any and every guitar in the shop, and i can comparison shop,
But if i was looking for a left-handed instrument, i’d have no real selection, no real way to compare guitars for feel and fit and tone, and no selection on colors, or other customizations...
So, not only does a left-handed person have to choose from a small selection of guitars, the one they get probably won’t be set up very well,
And a guitar that is set-up properly, will absolutely make a huge difference in playability,
And guitar playability makes a huge difference in your guitar playing progress.
So, eventually i decided i was going to experience what it feels like to be a lefty guitarist in a right-handed world,
By teaching myself, as a right-handed person, how to play a left-handed guitar...
And let me tell you, i have so much more empathy for lefties now, after having to struggle with contorting myself to play lefty guitar.
Its day 1 all over again.
Picking up a left-handed guitar for the first time,
Feels exactly like picking up a right-handed guitar for the first time,
Except the difference is, you’ve long since forgotten what it felt like on the first day, and guitar has become so natural to you now.
But try playing lefty, and you’ll soon find that day 1 feeling again,
Except the difference is, when you are playing lefty, you will probably struggle even more than you did playing righty.
If you decide to try and play lefty, get yourself a journal book, and take notes every day, on what you noticed about your playing.
Worked on this.
Needs work on that.
Its amazing, because you have, co-existing inside your own head, right now, a fully competent right-handed guitar teacher, and also a brand new left-handed beginner guitarist.
And so the righty-teacher side of you knows what the lefty-student needs to do, but the lefty-student is new and struggling with every damn thing... and the righty-teacher gets frustrated with lefty-student...
And its these moments, when the teacher knows what the student needs to work on, that need to be documented, and passed down to other right or left handed students.
I would say to anyone who is considering becoming a guitar teacher, to first teach yourself how to play lefty, and document every detail of your journey, and use that experience as the template for teaching other students.
Also, for any student of guitar, i would recommend getting an other-handed instrument that what you already play now.
If you own just one guitar, you can flip it over and play it other-handed,
But if you own 1 righty, and 1 lefty guitar, you can then flip both of them over, and have 4 different ways of holding a guitar while practicing
For me, for example, what i noticed is that when i play right-handed, then my right-hand is thinking more like the time signature of the song, the count, the beat...
masculine aspect.
While my left hand is thinking about the pitch, tone, melody, nuance...
Feminine aspect.
So when i went to play lefty, my left hand had to really step up its game on the strict timing, keeping the beat, etc,
and my right hand was off the leash, and free to noodle around, and express itself, which it was not accustomed to.
So after playing lefty guitar for a while, and then going back to playing right-handed, i notice my left hand improved dramatically,
Basically because the left hand seemed to be a lot more tight on the timing.
So before, while playing a song at full speed, my left hand would struggle to make a chord shape, just in time for dominant hand to hit, strictly on time.
I didn’t even realize this was happening!
After lefty practice, my left-hand seems more nimble, responsive, snappy, and on point, and instead of struggling to be in the right place at the right time, the left hand fingers are more “in the pocket”
I still struggle with lefty guitar every day, and i absolutely love it!
And i hope you all get a chance to struggle with lefty guitar too!
793
views
Guitar Rote Exercise - Gliss - Slide - Lateral Strength and Control Of Octave Shape
In this exercise, we continue on from the previous two exercises,
Which were to slide one finger (pointer) up and down the string smoothy and in control,
Then to slide two fingers (pointer and ring) up and down two adjacent strings, in the perfect 5th power chord shape.
Now we use two fingers (pointer and pinky) to slide up and down two strings, that are two stings apart from each other (E and D), in this octave shape.
Practice this octave shape on other pairs of strings. (A and G).
For extra credit, also work out how to modify this octave shape so that it works on the D and B strings.
Hint: you have to sharpen the note on the B string by 1 half step
33
views
Guitar Rote Exercises - Gliss - Slide - Lateral Strength And Control Of Two Fingers
In this exercise, we continue from the previous exercise,
which was to gently slide one finger up and down the string, while practicing to maintain good form, and a slow, steady arm, hand, and finger...
In this exercise, we use two fingers at a time, to do the same motions.
We use a power chord, perfect 5th shape for this illustration, but you’ll want to practice this exercise with every possible two finger combination, everywhere, on all string, on all frets
After you have mastered all possible two finger combinations,
then move on the all possible 3 finger combinations,
then move on to all possible 4 finger combinations...
26
views
Guitar Rote Exercises - Long Slides - Gliss - Lateral Finger Strength And Control
In this exercise, we gently slide our finger up and down the string, to get a feel for that motion.
The guitar is a member of the Glissandro family of musical instruments, which are instruments that change their sound by sliding up and down a string,
https://en.wikipedia.org/wiki/Glissando
Therefore, the slide, or gliss, is one of the most fundamental of all maneuvers on the guitar,
Meaning that it *should be more common to slide up half a step, than it would be to hammer-on up a half step,
But the way we teach guitar, and learn guitar, is not based on this fundamental sound of the instrument,
We are taught to think of a chord or a scale as having defined points on a string, and so our minds start thinking that way,
But what we should be doing, is more gliss exercises, more slide exercises,
To start training our ear, not to expect a single note at a certain time, but rather to expect to hear a gliss that covers an interval of a few half steps, over a short span of time.
45
views
Guitar Rote Exercises - Lateral Finger Strength And Stability Exercises
In this exercise, we strengthen and condition the fingers and hand, so that they have more lateral stability and control.
When you are beginner guitar player, your fingers are weak, both in grip strength and , and in side-to-side motion.
So the purpose of this exercise is to bring awareness to these weaknesses, so that they may be addressed, and strengthened,
So that later on, you will not be hindered in learning a new song, because of weak hands and fingers.
In particular, these are exercises for lateral finger motion (side to side) control and stability.
On a piano, the space between every pair of white keys is the same,
But on a guitar, the distance between every set of frets is slightly different,
Therefore, even though we have moveable chord fingering shapes, those shapes must be micro-adjusted for each hand position.
Also, when doing slides or gliss, your lateral finger strength will get stronger, and it will need to be stronger, to do slides and gliss well.
Also, as with other strengthening exercises, you will go from too weak, to too strong,
So when that day arrives, you’ll want to practice doing slides/gliss with increasing levels of tension, from 0-10, and decreasing level of tension from 10-0
107
views
Guitar Rote Exercise - Practice Fretting As Lightly As Possible
In this exercise, we practice calibrating the fret hand fingers pinch, or grip, or fretting strength.
In particular, we are calibrating the fingers touch, from the point the finger touches the string, to the point the string is fretted just hard enough to sound good.
So, during this exercise, you really want to focus your attention on your fretting finger, as it touches the string, and slowly presses the string into the fret.
You’ll want to keep plucking the string over and over, so that your ear can really get a good listen to the sound change, as that string gets close to the fret, and touches the fret, and is pressed into the fret.
So as a beginner, we were told to fret hard, or fret harder, because we have weak fingers.
But now your fingers are too strong, and need to be calibrated again, for your current strength and conditioning level.
So, if we imagine that as we touch the string, the pressure we exert is at level 0, and the hardest we can fret is level 10,
And then as we exert more pressure, lets say to level 5, the string moves backward, and touches the fret, with pressure level 5.
Because pressure level 5 doesn’t sound quite as good as level 6, we practice fretting up to pressure level 6,
Instead of practicing with pressure level always set to 10 or even 11.
By practicing how to lighten up your touch, you will have many benefits, for example
1) you can play longer. You wont get fatigued as quickly
2) your blood pressure will lower. Relax!
3) you will be more nimble, and move from point to point on the fretboard more quickly and efficiently
4) you wont dent the back of your string on the frets
5) you won’t wear out your frets as fast
From an eagle eye view, this is a transitional exercise, from beginner guitar to intermediate guitar.
It indicates that you have mastered many smaller maneuvers, that you have played many notes, that you are stronger, and faster, and have more spatial awareness,...
As your body is strengthened and conditioned with these rote exercises,
you will now more easily overcome many obstacles that would have otherwise given you problems.
For example, because all of your fingers are now stronger, and each finger knows how to properly fret a note,
you then can more easily learn new chords, or riffs, etc that you would have struggled with with weak, disorganized, undisciplined fingers...
These exercises are the difference between learning a song on a guitar,
And learning how to fundamentally, completely play the guitar, as a musical instrument.
The difference between giving a man a fish, and teaching a man how to fish.
The difference between teaching a student how to play *a song,
and teaching a student how to play *any song, in any key...
Teaching a student how to read other peoples music,
Verses teaching a student how to write their own music.
186
views
1
comment
Guitar Rote Exercises - Calibrating Fret Hand Grip or Pinch Pressure
In this exercise, we work on calibrating our fret hand pinch or grip pressure.
When we are first beginning to play guitar, our hands were weak, and soft,
But as we practice, our muscles get stronger, and our callouses get thicker,
And you can easily find yourself accidentally pinching or gripping or fretting too hard.
This exercise goes together with a pick hand exercise, where we work on calibrating pinch or grip pressure applied to the pick.
One part of the lesson thats not mentioned here, but should have been, is to do the following calibration....
1) fret a note as you normally would, and pluck the sting to make it sound.
2) fret the note slightly harder, and pluck the string again...
3) fret and sound the note 10 times in a row, and each time fret it a little bit harder than the time before, so that by the time you get to 10, you are fretting as hard as you can.
4) fret and sound the note 10 more times in a row, and each time fret a little but softer than the time before, so that by the time you get to 10, you are fretting absolutely as soft as you can, while still sounding good.
5) repeat on each finger
6) practice all fingers, everywhere, on each string, at every fret.
Another reason for this exercise is to kick-the-crutch so-to-speak
The crutch, in this case, being the thumb as an anchor point.
In earlier exercises, we set out to deliberately train to use the thumb as not only *an anchor point, but the first and primary anchor point!
So this exercise is another transitional exercise, between beginner and intermediate guitar player.
At first you were too weak, but now you are too strong!
Also, by removing the thumb from the equation, by moving the thumb to the bottom side of the neck, we can calibrate a few more things, namely
1) each fingers strength, independent of the thumb strength.
2) pick hand arm leverage on guitar body.
3) is 1) and 2) together.
Which means your guitar is in the normal playing position, and with your fret hand finger, you are pushing backward on the string, into the fretboard.
Normally, your thumb would be behind the neck, preventing the neck from moving backward, away from your finger, as you try to fret a note.
But because your thumb is gone, the guitar neck is free to swing backward, away from your finger, as you fret a note.
But because your pick hand arm is resting on the guitar body, you can lean on the guitar body and leverage the guitar neck forward, as you try to fret the note.
This is a careful balancing act, because whichever pushes harder, will make the guitar neck move forward or backward.
Once you master this balancing act, your thumb is free to move around, and not act as an anchor, or to act as an anchor in new ways.
This is helpful, as you will discover, when you go to reach certain notes on the neck, and your thumb actually prevents you from reaching them, because your thumb is hooked under and behind the neck, and trapped.
By putting your thumb underneath the neck, you are freeing the thumb from being trapped behind the neck,
So for example you can reach the highest fret on the low E string.
Normally, you wouldn’t ever play that note, because its unreachable, and its easier to find that note elsewhere.
So, because we can’t easily reach the note, we tend to not play the note, and it becomes a cycle of what you practice, or don’t practice.
So with this thumb-under hand position, you can be more easily prepared to reach the hardest note, and then we might practice playing that note more, and eventually get to the point where we are comfortable working in all 4 corners of the fretboard,
82
views
Guitar Rote Exercises - Setting The String Gap On All 4 Fingers
In this exercise, we continue the previous exercise,
which was to set the finger gap on 1 finger.
Now we will practice setting the finger gap on all 4 fingers.
Notice that my pinky finger comes way up? That’s not good, and its something I’m working on improving.
Otherwise the exercise is just more spatial awareness training, and ear training.
85
views
1
comment

Guitar Rote Exercises - Setting The Gap Between Finger And String
In this exercise, we practice lifting our finger off of the string, to get a very precise gap.
In my opinion, based on nothing at all...
The gap between the finger and string should be about the same as the gap between the string and the fret,
So that the string is situated half way between your fingers full range of travel,
Or that your finger is twice as far from the fingerboard as your string is.
Instead of claiming that this gap is the correct gap, i encourage each of you to experiment for yourself, and find the gap that works best for you.
The point of the exercise ins’t to make a rigid rule about a gap,
but rather just to bring your awareness to the fact that the gap exists, and that you will want to find the gap thats right for you.
Obviously this will depend on your playing style, strength, and skill, in particular being able to do hammer-on’s
This exercise will help with spatial awareness, that is, the knowing of exactly where your fingers are in relation to other things.
Practice this exercise with all fingers, everywhere, on all strings, and at all frets.
22
views
Guitar Theory - Using 4 Fingers To Play 1 Note
In this exercise, we anchor the thumb near the 9th fret dot marker,
And then fret the E string at the 12th fret, with each of your 4 fingers, one after another, back and forth until it is smooth and legato.
This exercise is meant to do two things,
1) break the bad mental habit of thinking that you need to use a certain finger to make a certain sound.
2) make the good mental habit of thinking you can use any finger to make any sound.
So, after you have mastered this exercise in the position shown, practice the exercise everywhere, on all strings, and all frets.
While you would probably never actually play guitar this way, it does nimble up your fingers so that you can naturally “adjust” on the fly.
Also, if you are a beginner guitar player who needs to develop callouses on your fingertips, this would be a good exercise for that.
Also, if you are a beginner guitar player who needs to practice strengthening and conditioning your finger muscles evenly, this is a good exercise for that.
By playing the exact same note with each finger, your ear can discern the differences on each finger, which you can then work on until each finger sounds the same.
52
views
Guitar Rote Exercise - Using 4 Fingers To Play 1 Note - 4 Half Steps
In this exercise, we continue on from the previous exercise,
which was to use 4 fingers to fret 1 note,
Now in this exercise, we do the same thing,
Which is to use 4 fingers to fret 1 note,
And then we move down in 1 Half Step increments, and repeat the exercise.
This is just a rote exercise, meant to strengthen, condition, calibrate, callous all of your fingers evenly,
So that later, when you want to make chords or play melodies, all of your fingers will be up to the task, and you won’t be struggling as much with the basics.
29
views
Beginner Guitar - House Of The Rising Sun - A Minor Pentatonic
In this exercise, we use use the song House of the Rising Sun to practice the A minor pentatonic scale in the 5th hand position.
We start on a high A note, and work our way down the scale and resolve one octave lower on an A note.
This particular exercise is good, because we usually start with a “root” note that is low, and the work our way “up” from there, whereas with this exercise, we start with a high note (that happens to be a root note) and working our way down to a lower root note.
So if we learn to count up from 1 like 123456789101112
This would be learning to count down from 12 like 121110987654321
This exercise covers a range of 12 half-steps or a perfect octave.
98
views
1
comment
Intermediate Guitar - Star Spangled Banner in 4th Hand Position
In this video, i demonstrate one way to play the star spangled banner, mostly in the 4th hand position.
I’ve always loved the song, and so i binge watched YouTube how-to videos, and each one of them had their own way of explaining it,
And none of those lessons “clicked” with me, which was discouraging because i really wanted to master playing this song.
So i just kept noodling around and incorporating all the ideas from all those lessons, and came up with this version.
In this rendition, you’ll notice a lot of extra-curricular clanking and banging around, and thats somewhat intentional.
It turns out, that when you play this song in the 4th hand position, all of the open sting notes just happen to clank and clash in a perfectly imperfect way.
This song could be played in this hand position, more cleanly, and it would sound good,
However, i like the way the mistakes sound, so i not only don’t try to avoid them, i go out of my way to make sure i make them!
I suppose if its on purpose, its no longer a mistake...
Anyway, if you want to replicate the mistakes, its mostly just a matter of “accidentally” hitting 2 strings instead of 1, and the extra string you hit on accident is usually the adjacent open string that sounds lower.
So for example, if you want to hit a note on the A string, then you simply play the note on the A string AND “accidentally” also play the Open E string,
So that nearly every note that is supposed to be played, is “accidentally” accompanied by an open string that is not supposed to be played...
We use this song as a lesson, because its old and in the public domain,
It has that major sound that we want to practice,
It will probably never go out of style,
Its based on an old English Pub drinking song...
Everyone who covers this song, owns it.
Jimi Hendrix version of this song at Woodstock is mind-blowing.
The first time i heard it, i thought it sounded like a guitar falling down a flight of stairs,
But after some research, i discovered that there are many “sounds of war” in the song, such as a machine gun, a bomb dropping, women screaming, an ambulance or air raid siren...
And after you know thats the sounds he was trying to achieve, you can “hear” it yourself.
Have a listen...
https://m.youtube.com/watch?v=MFLy8eGtSYo
Jimi videos disappear fast so heres a search in case video gets taken down
https://m.youtube.com/results?search_query=jimi+woodstock+star+spangled+banner
97
views
Guitar Theory - House Of The Rising Sun Chords
In this exercise, we practice House Of The Rising Sun chords
AA,CC,DD,FF,AA,E7E7
Repeat thru song.
The E7 chord is made by making a normal E major chord, and then lifting the ring finger, or “sus” meaning suspended or lifted finger.
This lowers the E note octave on the D string down 2 half steps to a Minor 7 sound on the Open D string
Other than the E7, which is easy, the rest of the chords are straight forward open chords in the 1st hand position.
For an eagle eye view, and to get a sense of why we do things in the sequence we do them,
If you were to go to any guitar teacher, they may try to show you how to play these kinds of chords on day 1 of your lessons,
before you have even had a chance to figure out how to fret even 1 note, they are trying to make you fret 3 notes!
And what makes it worse is, its the farthest away hand position, so you have to reach, and your shoulder gets tired quick,
Then the frets are spread out farther at that end of the fretboard, making fingering some chords or reaching some notes tricky,
And the first hand position is also where its hardest to fret the strings, because the nut action.
The first hand position is the worst hand position, and yet thats exactly where they start every guitar student.
So these lessons are planned so that you start on the 12th fret, which is where the frets are spaced nicely, your eye can see clearly, the action is easiest, and your shoulder isn’t exhausted after a few minutes practice.
So we start at the 12th hand position and work our way down to the 1st hand position,
and then work our way back up from the 1st hand position back to the 12th hand position.
This song, House of the Rising Sun, is a very important blues standard, perhaps the standard of all standards...
Its so old that nobody knows who wrote it, and its also in the public domain, so you can cover it.
This song is the perfect teaching tool, because you can start very simple, and keep building on this song, re-inventing it every time you play it.
This song is also the doorway to the Minor Pentatonic, which is the doorway to the Blues, and Rock and Roll, and Metal music.
So if you are a student of music, and you are digging deep to find the roots of the music you love, this song is what you have been looking for!
91
views
1
comment
Beginner Guitar - C Major Chord Shape
In this exercise, we practice the C Major chord in the 1st hand position.
C major’s ‘relative’ is A minor.
Both the C major and A minor chord anchor the pointer finger on the B string, 1st fret,
And to change from one chord to the other you just move your middle and ring fingers.
This C shape can be modified to make it more moveable, but its awkward, so guitarists just find another way to make the sound they want to hear.
This C chord is 1 of the 3 critical components to the so-called “3 chord trick” or “3 chord song”,
The other 2 chords being G and D.
Mastering this chord is a milestone in your guitar development, because it indicates that you are able to articulate 3 fingers, and fret 3 notes, at the same time.
Considering that we started these guitar lessons practicing to master playing just 1 note, with just 1 finger...
Soon, after you have mastered the G and D chords, and are able to transition between the GCD chords, you will be ready to try and play songs,
and will be moving from beginner guitar to intermediate guitar.
59
views
Beginner Guitar - A Minor and A Major Chord Shapes
In this exercise, we practice making the A minor chord shape,
which is the same as the E minor chord shape, but everything is moved up one string.
The A Major is made by using the pinky finger to sharpen the note on the B string, which is the 3rd scale degree, up from a minor 3rd, to a major3rd.
It would be unusual to play both the A minor and A major chords in the same song,
But this exercise is good for ear training, and listening to the difference between a minor and major sound, which is usually dictated by whether the 3rd scale degree is minor or major
3 half steps for minor 3rd
4 half steps for major 3rd
45
views