How to make Paper Bird | paper crafts
Making a paper bird can be a fun and creative craft project. Here's a simple guide to help you create your own paper bird:
Materials Needed:
Colored paper (two different colors for the bird's body and wings)
Scissors
Glue or double-sided tape
Googly eyes (optional)
Markers or colored pencils (optional, for decorating)
Instructions:
Choose Your Paper:
Select two different colored papers for the body and wings of your paper bird. You can choose any color combination you like.
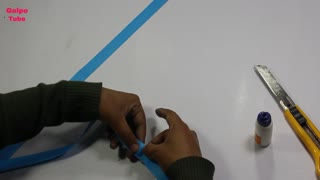
Cut the Body:
Take the paper for the bird's body and cut out a rectangular shape. This will be the main body of your bird.
Fold the rectangle in half lengthwise to create a crease. This fold will be the center of your bird.
Shape the Body:
On one end of the folded rectangle, round the corners to create the bird's head.
On the other end, taper the paper to form the tail.
Cut the Wings:
Take the second colored paper and cut out two wing shapes. These can be simple triangular wings or more elaborate shapes depending on your preference.
Attach the Wings:
Open up the folded body and apply glue or double-sided tape along the top edges.
Place the wings on the glue, ensuring they are symmetrical on either side of the body.
Decorate the Bird:
If you want to add more details, use markers or colored pencils to draw patterns, feathers, or any other decorations on the bird's body and wings.
You can also glue on googly eyes or draw eyes directly onto the bird's head.
Final Touches:
Allow the glue to dry completely before playing with or displaying your paper bird.
If your bird tends to tip over, you can add a small piece of paper or cardboard to create a stable base.
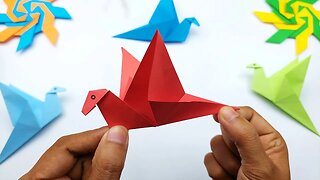
Feel free to get creative and experiment with different shapes and colors to make your paper bird unique. You can also try making a whole flock of paper birds in various sizes and colors for a charming display.
-
 8:43
8:43
Milon Shil
3 years agoHow to make a bird with paper? Paper crafts
53 -
 3:42
3:42
DIYHandmadeCrafts
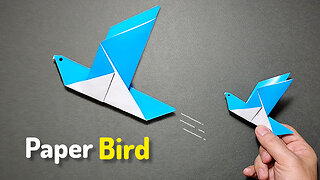
1 year ago $0.25 earnedHow to Make Origami Bird That Can Fly || Paper Bird Making Step by Step || Easy Paper Crafts
136 -
 2:41
2:41
DIYHandmadeCrafts
11 months agoHow to Make Paper Bird | Origami Bird Making | Easy Paper Crafts Step by Step
5 -
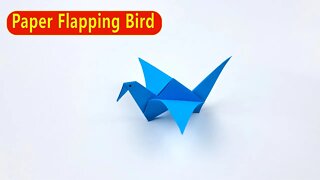 5:55
5:55
Crafts of Origami
1 year agoHow To Make an Origami Flapping Bird - Easy Paper Crafts/DIY Paper Bird
1 -
 3:36
3:36
DIYHandmadeCrafts
1 year agoPaper hummingbird making / Origami bird / How to make paper bird / Easy paper crafts
13 -
 4:29
4:29
HandiWorks
2 years agoMake Easy Quilled bird - DIY Paper Art & Crafts
3 -
 4:32
4:32
MrHandicraft
3 months agoHow to Make a "Paper Bird". DIY Crafts Origami
32 -
 9:18
9:18
MrHandicraft
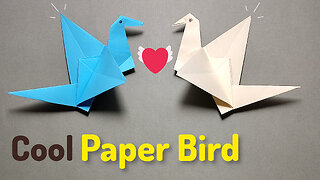
3 months agoHow to Make a "Cool Paper Bird". DIY Crafts Origami
39 -
 4:27
4:27
DIYHandmadeCrafts
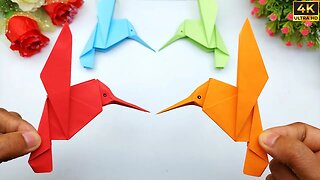
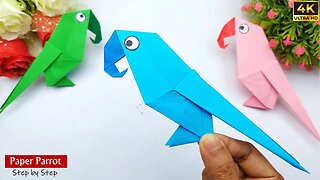
1 year ago $0.68 earnedOrigami Parrot / How to Make Paper Things / Paper Parrot / Easy Paper Crafts
253 -
 14:06
14:06
Crafts of Origami
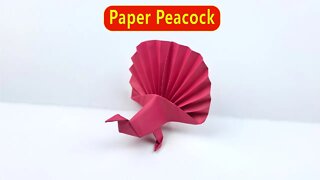
1 year agoHow to Make Origami Peacock - DIY Easy Paper Crafts/Step by Step Crafts
4