
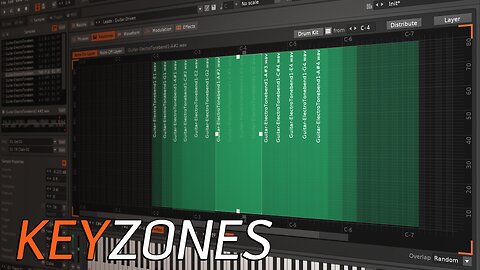
Keyzones
It’s possible to create complex instruments and music without ever touching the Keyzones section of the Sampler. However, if you want to control how different samples are played across a range of notes and velocities then that instrument will need to make use of Keyzones.
0:00 - Intro
1:04 - Keyzone Presets (.sfz)
2:24 - The Keyzone Grid
3:43 - Selecting & Adjusting Keyzones
5:20 - Inserting & Deleting Keyzones
6:11 - Note On/Off Layers
7:27 - Distributing Zones
8:22 - Keyzone Options
11:05 - Sliced Sample Limitations
1
view
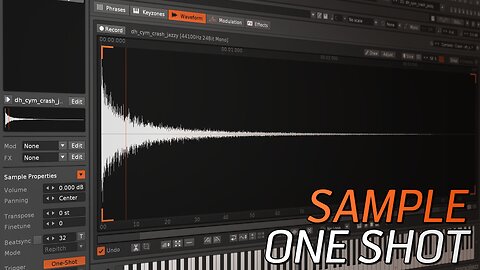
Sample One Shot
Being able to play certain sounds as a ‘One Shot’ is an old solution to an old problem: sometimes samples, usually drums, need to ignore Note-Off events and simply play through the entire waveform. While having such an option is useful when playing or recording live using the computer keyboard, it is crucial for hardware controllers that are designed only to be struck briefly.
0:00 - Intro
0:58 - The Effects Of One Shot
1
view
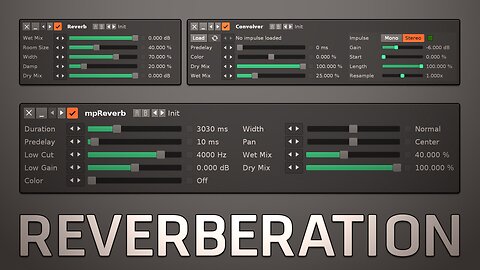
Reverberation - Reverb, mpReverb & Convolver
Reverberation is when a sound wave is reflected off of various surfaces, extending its length and gaining a particular character from the acoustic environment. Reverb effects simulate this natural process, and you’ll find three such devices in Renoise & Redux.
6
views
1
comment
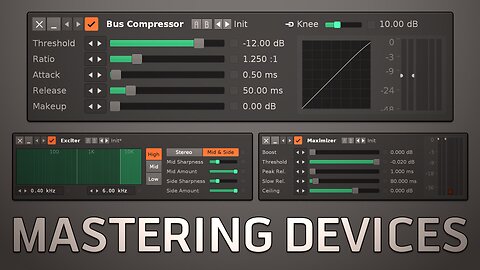
Mastering Devices - Bus Compressor, Exciter & Maximizer
When creating music in Renoise, all of the separate instruments and tracks come together in one place: the Master track. Renoise has three devices designed for the precise shaping of the final audio.
0:00 - Intro
0:54 - Bus Compressor
2:45 - Exciter
4:36 - Maximizer
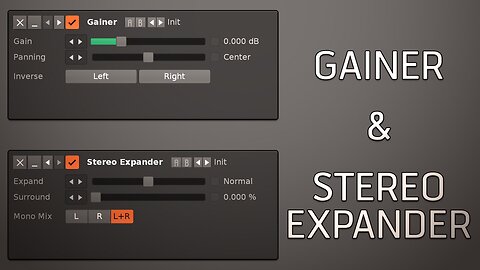
Gainer & Stereo Expander
The Gainer & Stereo Expander effects make the Panning, Volume and Width parameters from the Pre-Mixer available within these devices, with a few useful expansions. This means that these fundamental aspects of an audio signal can be controlled from anywhere within an effect chain.
0:00 - Intro
0:31 - Gainer
2:15 - Stereo Expander
6:01 - A Link In The Chain
1
view
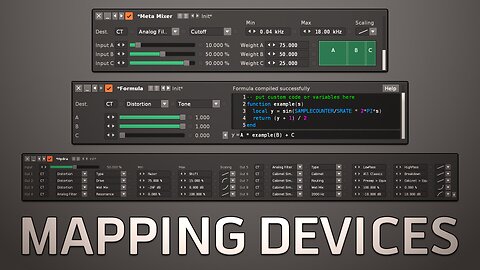
Mapping Devices - Hydra, Meta Mixer & Formula
Mapping devices handle parameter modulations across multiple inputs & outputs. The Hydra has a single input which can be altered in different ways for each of its multiple outputs. The Meta Mixer & Formula have multiple inputs and combine them in various, potentially complex ways to craft a single output.
00:00 - Intro
00:35 - Inputs & Outputs
02:34 - Hydra
03:39 - Meta Mixer
04:51 - Formula - Overview
06:14 - Formula - Input & Output Variables
08:37 - Formula - Musical Variables
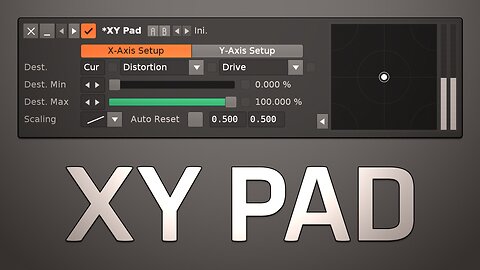
XY Pad
Hardware trackpads & joysticks allow the user to perform simple movements & more complex gestures to create musical changes. The XY Pad device provides the same ability within Renoise & Redux. Automations can be recorded by using the right mouse button.
0:00 - Intro
1:25 - XY-Axis Setup
2:37 - Other Controls
3:28 - A Device For Performance
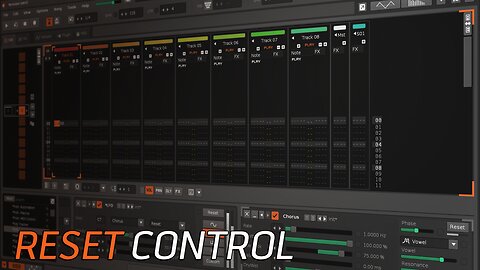
Reset Control
In a previous video we looked at the Chorus, Flanger & Phaser devices, which use a free-running modulation to drive their effects. No matter how you change the settings though, the shape of that modulation is always a sine wave. Let's see if we can do something about that.
0:00 - Intro
0:30 - Destination: Reset
2:00 - Hacking The Shape
3:21 - LFO Reset
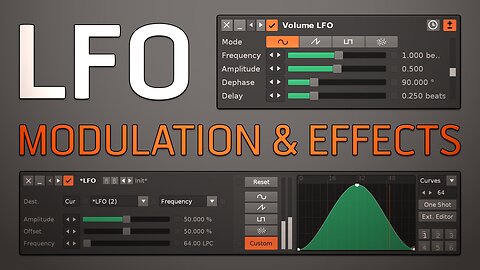
LFO - Modulation & Effects
A low-frequency oscillator generates a signal that cycles through a relatively slow pattern. Although it's used in two different ways as Modulation and Effects for Renoise & Redux, the core method of constructing the LFO is identical in both.
0:00 - Intro
0:28 - Modulation
3:54 - Effects
8:03 - Syncing Modulation
10:19 - Chaining LFO Effects
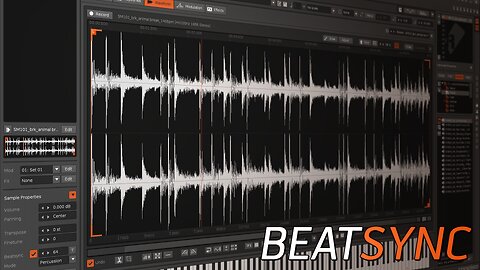
Beatsync
Beatsyncing a sample is a quick and easy method of synchronising the length of its playback to a certain number of lines. Although its simplicity has been retained since the early days of Renoise, it's affected by factors introduced in recent versions.
0:00 - Intro
0:39 - Beatsyncing A Sample
3:16 - Playback Mode
4:35 - Lines For Loaded Samples
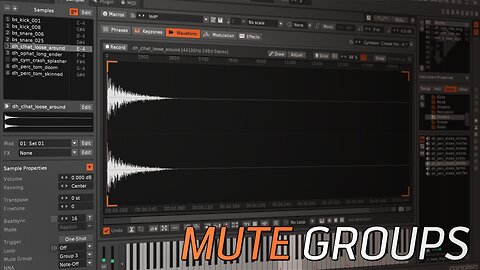
Mute Groups
Mute Groups are inspired by a feature from hardware samplers and drum machines, where you may know them as ‘choke groups’. The idea has been adapted to fit within the Renoise workflow and, although it can be used with any type of sampled sound, it’s most commonly applied to percussion.
0:00 - Intro
0:28 - Mute Groups
1:10 - Note-Off & NNA Differences
2:51 - Conclusion
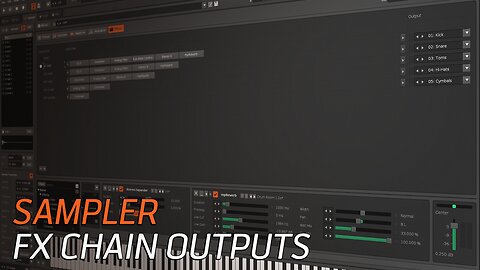
Sampler - FX Chain Outputs
When you create an FX Chain within the Sampler, by default, that instrument will then be restricted to playing on a single track in Renoise, or a single output bus in Redux. However, an FX Chain’s output can be changed to route the audio to a specific track or output bus, and this can be different for each FX Chain.
0:00 - Intro
0:34 - Sampler FX Chains
1:23 - Output Routing
3:01 - Why Use Specific Tracks?
5:32 - Volume Clipping
14
views
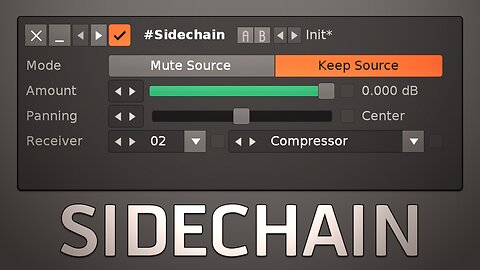
Sidechain
The Sidechain device sends its audio signal to an effect that’s in a different track or sampler fx chain. This allows the receiving effect’s behaviour to be controlled by an audio source other than one that it’s actually processing.
0:00 - Intro
1:01 - Sidechain vs Signal Follower
3:18 - Receiver
4:49 - Mute/Keep Source
6:21 - Amount & Panning
7:27 - Sidechain Compression

Ghost Notes
A ghost note is a note in the Pattern/Phrase Editor that’s had its instrument or sample number removed by the user. When played it will retrigger the most recently played instrument/sample in its column, but with some useful differences from the normal behaviour.
0:00 - Intro
0:37 - What Are Ghost Notes?
1:25 - What Is Retriggered?
3:34 - Modulation – Free-Running
5:01 - Effect Commands – Volume & Panning
6:42 - Phrases – Pitching & Switching
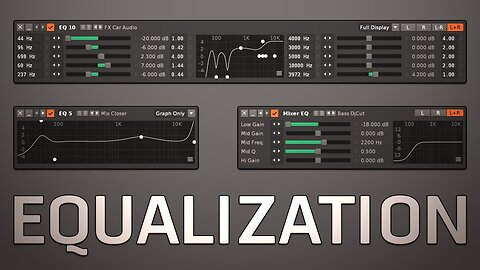
Equalization
Equalization or EQ is the process of adjusting the balance of frequencies within an audio signal, enhancing or reducing certain elements to help them sit appropriately within the overall mix. To this end, Renoise provides three such tools to aid in your quest for mixing magic.
0:00 - Intro
0:48 - EQ 5
4:47 - EQ 10
5:03 - Mixer EQ
6:00 - Meta Control
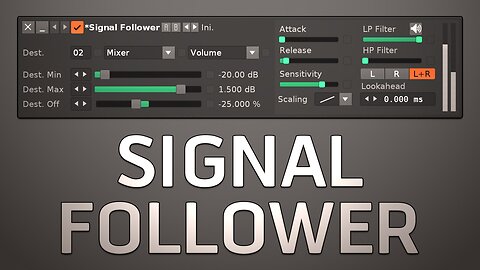
Signal Follower
The Signal Follower measures the volume level at the location that it’s placed in a track or sampler fx chain and then uses its controls to craft an output signal from that volume input. The output is sent to a destination, which automates the chosen parameter of the chosen effect.
0:00 - Intro
1:07 - Destination
2:53 - Reading The Meters
3:25 - Input Response
5:14 - Filtering
6:09 - Output Shaping
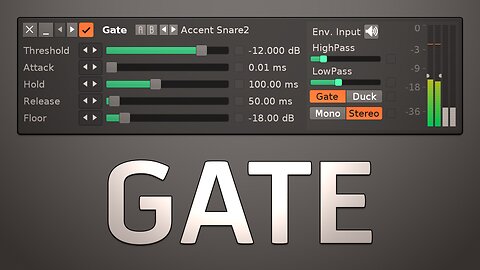
Gate
A Gate reduces the volume of the input signal while it is below a specific Threshold, but when it rises above this the Gate 'opens' allowing the original audio to be heard at its full volume. For example, this can be used to silence a constant low noise floor, or to reduce the low volume parts of a complex waveform (such as drum loops).
0:00 - Intro
0:56 - Gating Controls
3:11 - Input Filter
4:13 - Duck Mode
5:10 - Mono/Stereo
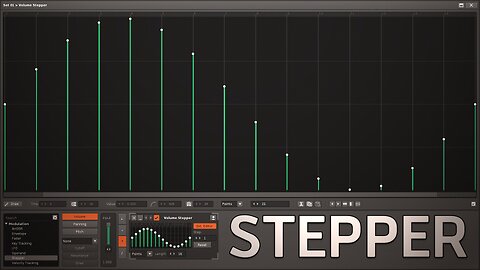
Stepper
The Stepper device is found within the Modulation section of the Sampler and at first glance performs a pretty simple function: every time a note is played, the cursor moves forward in the envelope, changing the output value. However, there's actually a lot more control available to you than it initially appears.
0:00 - Intro
0:34 - Steps & Points
2:31 - Controlling The Sequence
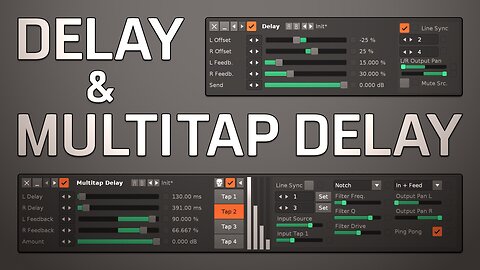
Delay & Multitap Delay
The Delay device is a classic audio effect that creates patterns of spatial echoes from its input, which can be used both creatively and for more practical mixing purposes. The Multitap Delay is a more complex version of this, with additional filtering and routing options.
0:00 - Intro
0:37 - Delay Controls
5:54 - Multitap Delay
6:44 - Changes – Delay Length
7:32 - Changes – Negative Feedback
9:02 - Changes – Amount
9:32 - Advanced Options
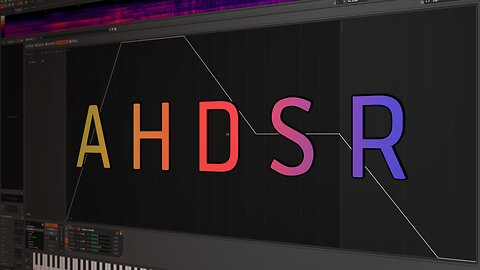
AHDSR
Found within the sample modulation section of the instrument editor, the AHDSR device crafts an envelope by using its five properties to generate a shape composed of five phases.
0:00 - Intro
0:48 - The Five Phases
3:19 - Exx Effect Command
4:53 - Alternative Envelope
4
views
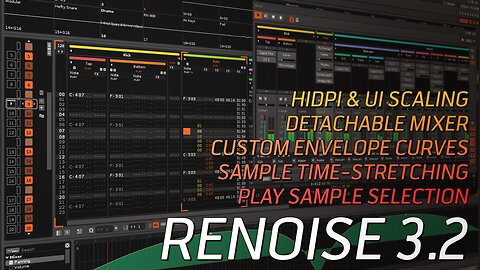
Renoise 3.2
Renoise 3.2 is here, with a whole host of improvements, fixes and new features. So let’s take a look at the most important ones. Release forum thread: https://forum.renoise.com/t/renoise-3-2-redux-1-1-released/58011
0:00 - Intro
0:22 - HiDPI & UI Scaling
1:21 - Detachable Mixer
2:01 - Custom Envelope Curves
3:06 - Sample Time-Stretching
4:43 - Play Sample Selection
5:44 - Conclusion & Redux
1
view
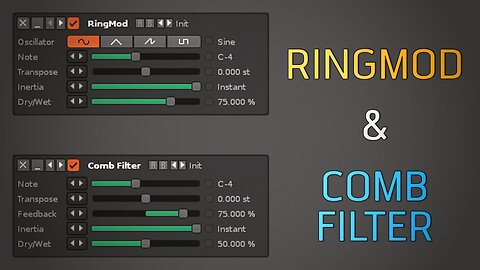
Ringmod & Comb Filter
Although the way they work and how they sound is quite different from each other, the Ringmod & Comb Filter effects do share one large similarity in how the Note & Transpose parameters allow the user to 'tune' them to precise note values.
0:00 - Intro
0:27 - Ringmod
1:26 - Comb Filter
3:04 - Shared Parameters
4:54 - In Filter Options
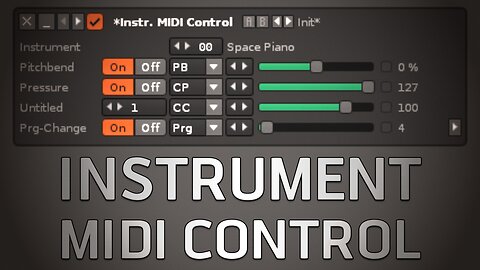
Instrument MIDI Control
If you don’t have an external MIDI controller or would just like a software alternative to one, then the Instrument MIDI Control device can be used to send MIDI messages directly to the Plugin and MIDI components of a Renoise instrument. As an effect device it also has the advantage of being easy to control and automate.
0:00 - Intro
0:30 - Device Parameters
2:28 - Affecting Samples
3:58 - Device Specifics
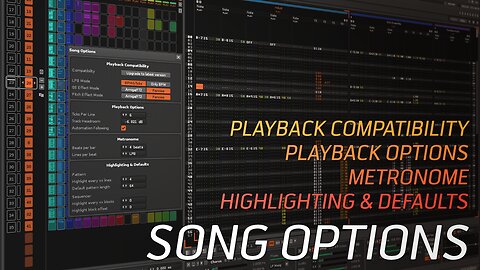
Song Options
Opened by choosing it from the Song menu, the Song Options panel allows users to configure a variety of more advanced options for an individual song, such as compatibility settings or general playback behaviour.
0:00 - Intro
0:22 - Playback Compatibility
4:25 - Playback Options
8:25 - Metronome
9:58 - Highlighting & Defaults
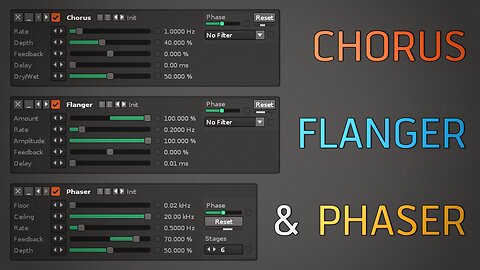
Chorus, Flanger & Phaser
The Chorus, Flanger and Phaser effects have a lot of similarities, both in their parameters and in how modulation is used to alter the input audio. With the Reset button they also share one powerful method of controlling the modulation.
0:00 - Intro
2:28 - Shared Parameters
4:42 - Other Parameters
7:19 - Syncing Modulation