

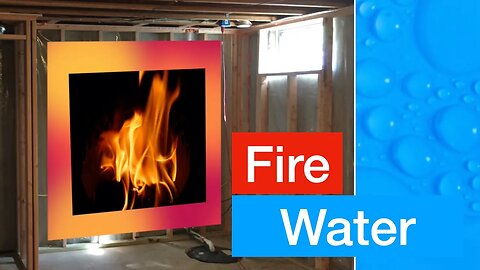
Transform Basement #2: Water Proofing and Fire Blocking
And here is the central question: how can we make our basement a safe and comfortable space? In the battle against water and fire in this underground space, I'd like to present a breakdown of five major problems and the way we address them in the area [in Northeastern USA]. Please do consult your township office for the code and specific requirements.
39
views

Building Backyard Fences: Small 3-ft vs. Large 6-ft Projects - Tips for long-term durability
We will dive into the steps and details of building an internal 3-ft high fence section, and offer my perspectives on key considerations in undertaking a large 6-ft fence project and how the build can endure the test of seasons based on the results of my now 8-year-old privacy fence.
73
views
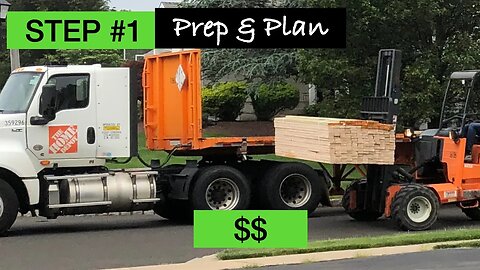
Basement Transformation Step 1: Planning and Preparation
Here is an outline of steps to prepare and plan for finishing a basement:
1. Evaluate the condition of the unfinished basement with questions related to humidity, cracks on the floor and walls, potentially getting web or flooded, whether it needs treatment (grading, waterproofing) for potential water problems, etc.
2. Consult local code and township office regarding what is required of a finished basement, e.g. egress window if without an automatic fire sprinkler system, insulation and fire-blocking requirements, etc.
3. Measure the basement, have a rough design with the RoomTodo website, which shows how the space can be used and helps estimate areas and materials, etc.
4. Create a list of materials/supplies/tools and estimate the cost for the project.
41
views

Transform your staircase with a $180 budget ($14 per step)
# Staircase transformation
Unfinished staircase: 13 stairs
Total budget: $180 TOTAL
Yes, that's for the entire staircase ($14 for each stair). I know, you may have received $100+ quotes for each individual stair/step.
## Supply
1. Vinyl flooring (5mm) with foam backing for the tread and nosing ($120)
2. Melamine white panel (4x8) for the riser ($40)
3. PL 3X Premium adhesive or a glue suitable for foam boards ($20)
## Jig and Making Nosing
Make a jig to:
1. Hold a vinyl plank;
2. And bend it to the size of your stair nosing, e.g. 1 inch
Steps to bend vinyl flooring with the jig:
1. With vinyl plank in place, heat its foam backing with a heat gun on HIGH temperature.
2. Move heat gun back and forth, not to overhead/burn one area.
3. It takes A LOT of patience, and likely 6 to 10 minutes before the foam backing and vinyl melt.
4. When vinyl melts and is soft enough, bend the plank to make the nosing.
5. Secure the bent vinyl plank with clamps.
6. Let it cool for multiple minutes.
## Installation
Cut additional pieces:
1. Measure and cut an additional vinyl plank to cover the rest of tread beside the nosing.
2. Measure and cut the riser, e.g. using melamine white panels.
3. Test fit with the 3 pieces for each stair: riser, nosing, and additional vinyl coverage.
Once they fit, you may cut all pieces and test them on all stairs.
Starting with the lowest step of the staircase, use PL 3X premium or similar adhesive and repeat the following on each stair:
1. Glue the nosing.
2. Install and glue the additional flooring on the tread.
3. Glue the riser and compress it for a tight fit:
* It will push UP on the nosing above.
* It will also push DOWN the vinyl piece of stair below.
You can bevel the top-edge of the riser for a tight fit.
--
Hope this is helpful.
God bless!
47
views