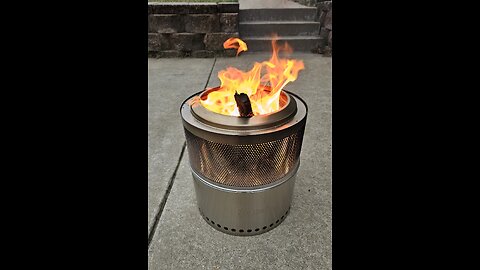
Unboxing, setup and review of the Smokeless Fire Pit by Firehiking
In this video I unbox setup and review the Firehiking 14" Smokeless wood fire pit / grill.
Amazon Fire Pit and Grill Grate Combo Link - https://a.co/d/4X1IWHa
37
views
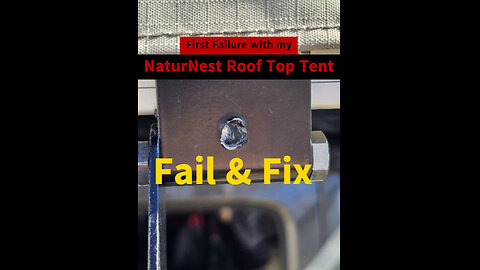
First failure with Roof Top Tent!
After having my NaturNest clamshell roof top tent for several weeks and using it several times. I started to experience a failure on the pole supports that the front poles slide into for supporting the rain fly.
It seems like the holes were drilled to shallow and when I bend the pole back to connect it to the rain fly it pops out of the hole by the ladder. Now the holes are wallowed out from the poles popping out and they are having a hard time staying in.
By adding 1/8 in depth to the hole I've alleviated the issue. I've also reached out to NatureNest about it a week ago, but have yet to hear back.
11
views
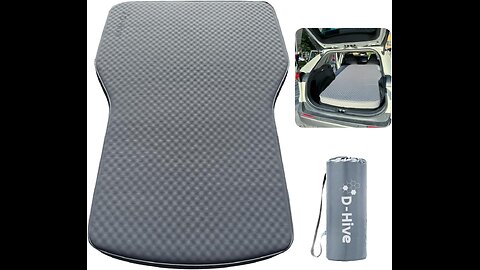
D-Hive Self Inflating Air Mattress for Roof Top Tent
Unboxing and first impressions of the Amazon D-Hive Camping Mattress
Amazon Link - https://a.co/d/15FbRAT
I knew pretty quick that when I purchased this tent. That I was going to be replacing the 1 1/2 inch mattress, mainly due to being a side sleeper. After considering several options, there were three mattresses that stood out as possibilities. Because of pricing and features this is the one I chose.
35
views
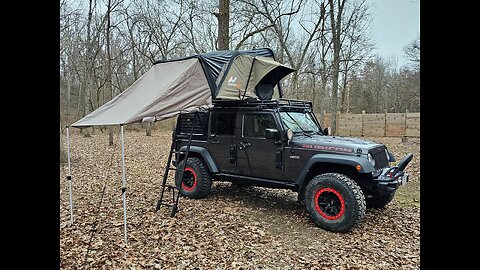
Awning for NaturNest Cantilever Hard Shell Rooftop Tent
Since NaturNest doesn't offer an entry canopy for the cantilever RTT yet, in this video, I show you how I modified a canopy from another RTT to fit on the NatureNest Cantilever RTT. I used a canopy from OVS that I bought online, some 1.5 inch hook and loop with sticky back. I also used a sewing machine & tape measure for the project.
Process I followed:
1. Measure the dimensions of the section of canopy that I would be attaching to the tent.
2. Cut the hook and loop sections to size.
3. Stick the soft side of the hook and loop on the underside of the tent entry. It bonded VERY well as it has a rubberized coating on it.
4. Stick the hook and loop on the canopy.
5. Sew the hook and loop on the canopy using a sewing machine and some upholstery thread.
6. The final step was to test the canopy on the roof top tent. I opened the roof top tent and validated the canopy was covering it properly. I adjusted the canopy as needed. The hook and loop holds very strong I don't for see any issues in strong wind or rain.
I hope you enjoyed this video and found it helpful. If you have any questions or comments, please leave them below. Thanks for watching and happy overlanding! 🏕️
71
views
1
comment
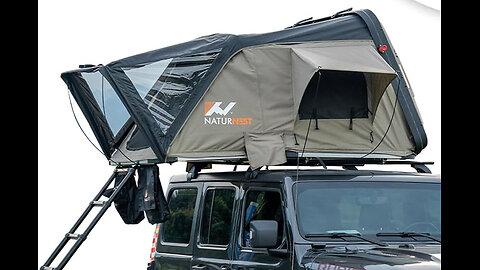
Amazon NaturNest Cantilever Hard Shell Rooftop Tent Unboxing
Unboxing and first impressions of the Amazon NaturNest Cantilever Roof Top Tent.
Amazon link - https://a.co/d/24x4P6P
I am planning some modifications to this tent in the near future in preparation for an overlanding trip. Here are some of the DIY upgrades I'm working on:
Adding an entry awning for adverse weather
Adding padding to hard touch surfaces
Creating an interior insulation kit
Adding 5v electrical connection from vehicle to tent
Feel free to subscribe to be notified when I post those videos.
64
views